tracing 3D objects with papervision3D
demos :: drawing the logo
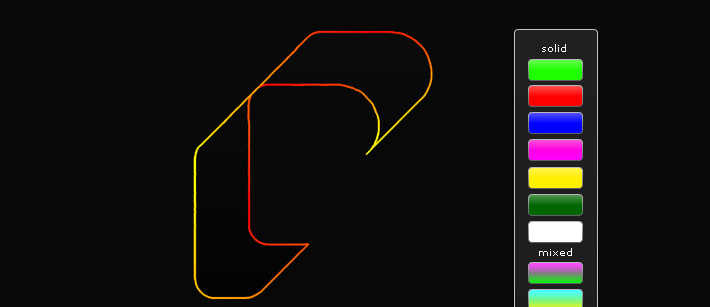
a question popped up on the papervision3D mailing list the other day about using the lines3D class to trace a 3D object. i found the idea fascinating, so i whipped up this little demo to demonstrate how simple it actually was. i started out by creating a simple cylinder with a wide base and small top, and setting its visibility to false. then creating my lines3D object. finally in the render loop i create a new line3D that connects each vertice. by checking to see in a counter variable is less than the total object vertice count ((box.geometry.vertices.length)), and adding a new line3D if the counter is less than that, or deleting all the lines and starting over.
check out that demo here
view the demo source
so that wasn't enough.
i decide that i wanted to trace the actual papervision3D logo. and since i have already made it in a font, it wasn't hard at all. working with the optimized version of the font on my site worked fine, but since there were so few verticies, the script would draw the logo in a matter of seconds. so instead of trying to devise a method of tweening from vertice to vertice i just went into font lab and added more points!
(the font used in this demo is available here)
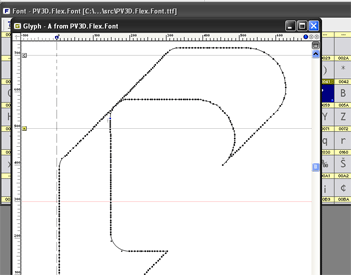
now, i went into 3D studio max, clicked the "splines" button, and created a new text object. i used the new PV3D.Flex.Font i just made, set the size to 100 (larger/smaller is fine) and typed in the letter "A" (the only character in the font).
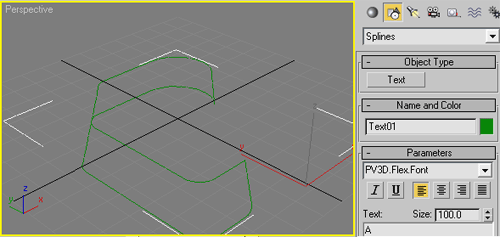
after that i used the rotation tools to stand the letter upright, and moved it forward some. the next step is to do a mesh select, by clicking the modifiers tab and selecting "mesh select" from the dropdown menu. then in the mesh select parameters panel select vertices. now click back into your main perspective and select all the vertices (ctrl+a).
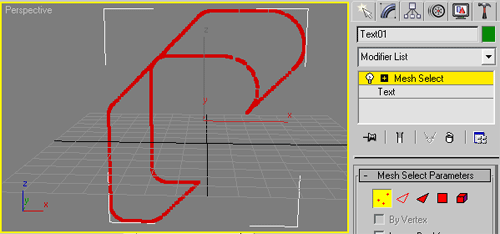
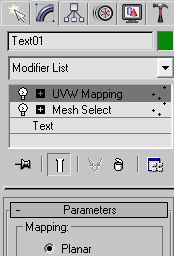
the next step is an important one ((and the one i always forget)) we need to give our 3D object a uvw mapping. still under the modifiers tab, select "UVW Mapping" from the dropdown list. and under the parameters panel make sure its mapping mode is set to "Planar". i was having all kinds of trouble exporting 3D objects that were based on points only. seraf explained to me that w/o a uvw mapping on your object the as3geomClassExporter cant map the u and v points onto the triangle mesh, which are needed for texturing purposes.
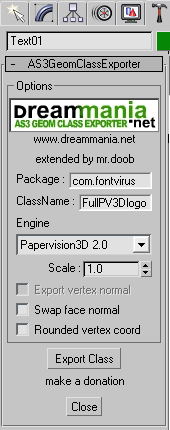
now its time to export our 3D logo, click on the tools tab and select max script, then run the as3geomClassExporter. set your package folder and the actual class name, then select papervision3D 2.0 from the dropdown list. for this particular object i left the scale set to 1. then click export class and save it in the same folder as you set in your package.
then its onto flex.
i decided i wanted to use the math-based color fade from my last demo again, so i couldn't use the standard color picker. this demo uses 2 states, normal and the color picker. which is just a 2nd state with a panel object w/ blank flex buttons on them. using the flex buttons worked out well because i was able to just set the color gradient to the same colors in the fade, or just solid ones for the normal sets. i tried to make is one a simple as possible so you can understand the core concepts of what's going on more than the over-all "flashy-ness" of the thing. so enjoy!
click here to view the demo
and its source of course!
