blog.x-e.ro / code: page 3 of 38
demos :: drawing the logo
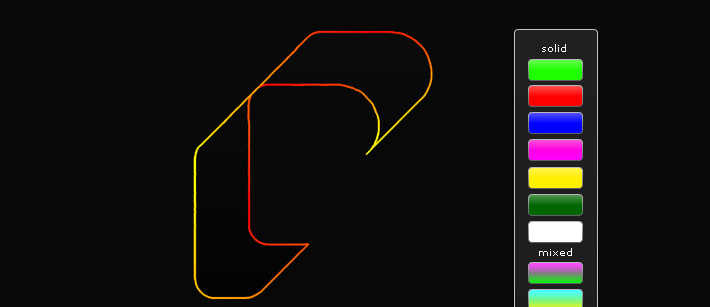
a question popped up on the papervision3D mailing list the other day about using the lines3D class to trace a 3D object. i found the idea fascinating, so i whipped up this little demo to demonstrate how simple it actually was. i started out by creating a simple cylinder with a wide base and small top, and setting its visibility to false. then creating my lines3D object. finally in the render loop i create a new line3D that connects each vertice. by checking to see in a counter variable is less than the total object vertice count ((box.geometry.vertices.length)), and adding a new line3D if the counter is less than that, or deleting all the lines and starting over...
demos :: with papervision3D
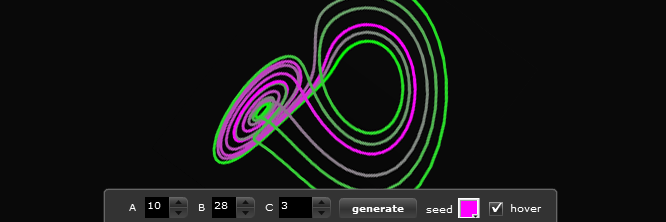
we were discussing recursive algorithms and chaos theory at work yesterday. when one of the chemistry professors brought up the lorenz attractor. he was trying to draw one on the white board for about 10 minutes until i decided it would be easier to draw in flash, lol!
after a quick conversation w/ andy zupko about the new Line3D object, and my new CanvasView3D component for papervision, i made a sweet lorenz attractor!
the algorithm is super simple:
x1 = x0 + h * a * (y0 - x0);
y1 = y0 + h * (x0 * (b - z0) - y0);
z1 = z0 + h * (x0 * y0 - c * z0);
as3 :: my native papervision3D flex component
after my last post about creating an actionscript project that extends the basic view, i got to thinking... my flex canvas3D is getting a bit outdated. these days i just make canvas then add my viewport3D or a basicView to it. so why not create a new UIcomponent that extends basicView? why not indeed...
introducing my new class, called CanvasView3D! this little flex gem makes setting up papervision3D in an MXML setting simple. by creating the CanvasView3D component, and initializing it to a local variable, you will automatically create a scene3D, camera3D, viewport3D, and a basicRenderEngine, all the core components of any PV3D application!
as3 :: making papervision3D setup simpler
the core PV3D team has released a new class called the basicView. the idea here is to create one object that already contains the camera, scene, viewport, and render engine needed to made a 3D scene in flash.
after reading the post about it on andy’s blog, you can see that this is a very simple technique. but lets take it one step further. why not create a new actionscipt project that extends basic view?! its very simple, and makes setting up your scene a snap!
demos :: interactive 3D objects
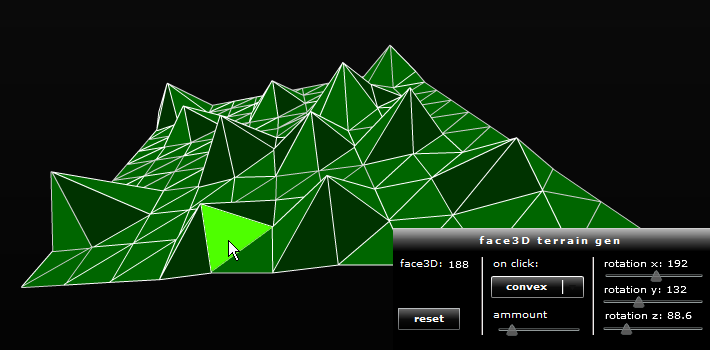
the new pv3d 2.0 release features an entirely new way of dispatching and handling events. earlier versions of the engine utilized two different flavors of materials, regular and interactive. with this new release, you just have materials with a boolean interactive property.
with this simple demo, im trying to learn more about the new interactive scene events. first, you create a 3D scene, and set it's interactive flag to true:
view = new Viewport3D(width, height, scaleToStage, interactive);
then create a material and set it's interactive property to true:
as3 :: use the bitmapData of any flex component
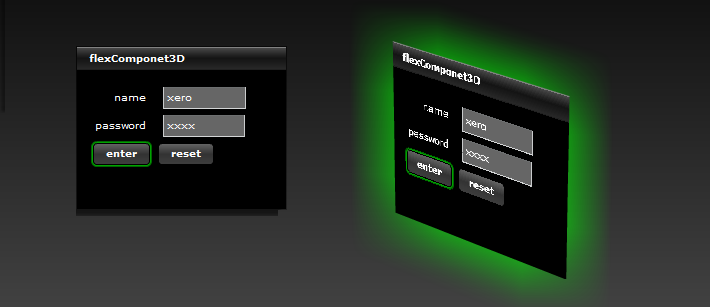
i guess this is more of a test then a real demo. in flex its extremely simple to access the bitmap data from any component on the screen as it is styled at that time. this includes things like text with in a text box.
in this example, create a flex panel
<mx:Panel id="myPanel" />
then create a bitmapdata object
var formTexture = new BitmapData;
then draw the panel right into it
formTexture.draw(myPanel);
then I use that texture on a 3D plane with the help of papervsion3D. and a little glow filter just because...
demos :: let there be dynamic shaders!
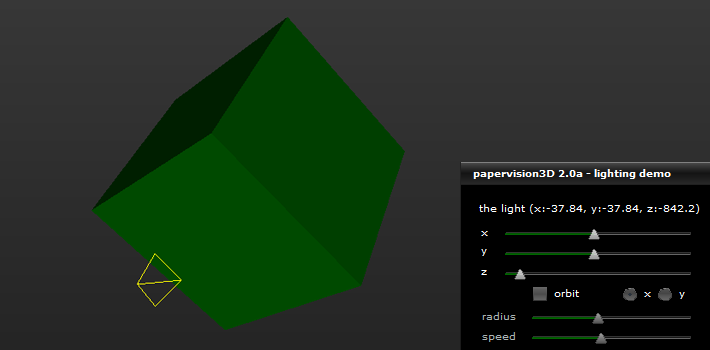
working with the new pv3d 2.0 release, there are a lot of new features to learn. one of the most powerful being the new pointlight3D class. using this will allow you to create all kinds of cool shading effects. at first i was having some trouble deciding where the light is positioned by default. i tried setting the light’s visibility flag to true, but it still wasn’t rendering. after a bit of digging i discovered that the position of the light by default it set to (x:0, y:0, z:-1000), no wonder it wasn’t rendering, it was in the same position as the camera!
so i decided to make a little flex demo for the new pointlight3D class. the flex form allows you to use sliders to move the x, y, and z position of the light, as well a an orbit function.


